- Dr. Mattioli
- Image analysis
- Specialisations
- Surgical procedures
- Face
- Surgery
Rinoplasty

Blepharoplasty

Otoplasty
Mentoplasty

THE BEST SOLUTION FOR
EACH INDIVIDUAL CASE
ANALYSES AND EVALUATIONS TO GET
A PREVIEW OF THE RESULTS OF THE SURGERY

Home/Image analysis/The steps
This analysis entails several steps.
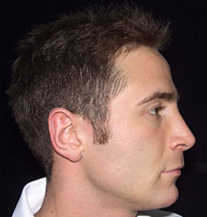
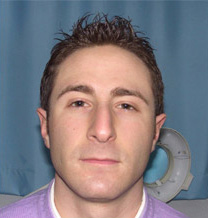
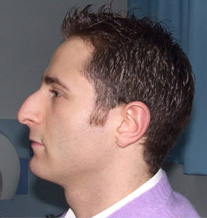
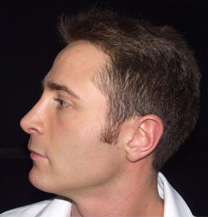
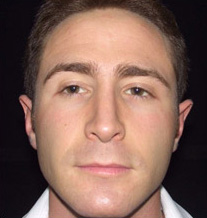
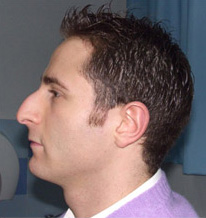
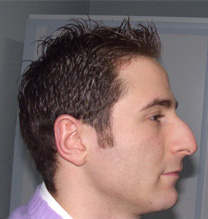
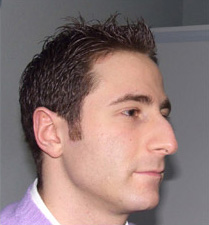
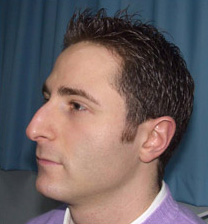
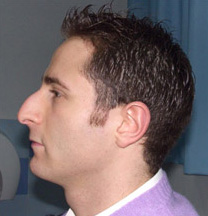
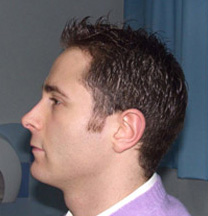
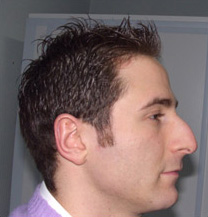
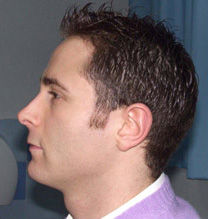
Step 1: after a meticulous visit with the surgeon, during the same session various photos will be taken of the right-side, frontal and left-side profiles, in ¾ positions, all shots of what may turn out useful to take in the minimum details of the face. The photographic material serves to see the face in different stances useful to the accurate study of the image.

Step 2: Then the photos are processed with the aid of a computer and put in the patient’s personal file, with the start of transformations on the original through a graphic elaboration program. In the meantime digital simulations are performed on the computer, which simulate a true to life final result to be obtained through surgery. The changes opted for, will be carried out according to the norms established by the criteria for objective beauty:
- frontal nose angle to the center of the eye
- nose-lip angle equal to the angle formed by the lower lip with the chin
- shape, dimensions and connotations of the nose tip, very similar to theshape of the chin.
The photos are modified taking into account the patient’s demands, and however, with his/her collaboration. The two profiles are changed in two different ways so the patient can consider and choose between the two possible alternative solutions. Most often, two or more proposals are sufficient to help in identifying the best result for the patient.


Step 3: modifications are performed on the photo with the face in frontal position. This is an important stage not only for the measurements to be given to the nose tip, but especially in assessing whether or not the nostrils need to be reduced in size. The scheme evidences how the side of the nose must resemble a line that is a prolongation of the arch of the eyebrows, which narrow towards the center of the eye (towards the inner side of the level of the nose point at an equal measure with the two points of the lower lip (the apex of the cupid’s arch). The width of the nostrils must instead remain within the perpendicular part of the internal side of the eyes This study of the image makes us understand how each corrected nose has to be personalized, but must also be suitable to the characteristics of the face itself. The study of the image in every detail is necessary to give naturalness and normality to the new nose and a greater harmony to the face.


Step 4: at this point the photos are reviewed together (the original and the modified ones) in a sole window so as to have a complex vision. They are also viewed in pairs (original and modified photos) in order to clearly highlight the aesthetic corrections.
Step 5: if the patient deems it necessary to make other changes and suggests other solutions, a new computerized study is carried out, after which all the possible solutions will be assessed and compared.
Step 6: once the optimal solution for the patient and the surgeon is found, the photo selected is overlapped with the original to see the extent of the corrections.
Step 7: all this photographic material is transferred to a USB drive and given to the patient, who can bring it home to evaluate and become familiar with his/her new image.
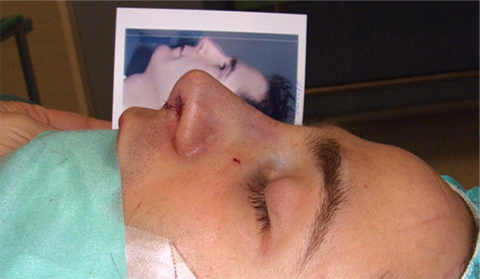
Step 8: on the day of the operation, before starting the procedures for the operating theatre, the photo chosen is reviewed and every possible doubt or hesitation is clarified.
Step 9: at the end of the operation and before the application of adhesives, other photos are taken, and then shown to the patient on awakening, so as to ensure him/her of the result.